You may know I have a little sideline studying to be an NCT breastfeeding counsellor. To help me collate resources for parents as well as other snippets of interest to both myself and others, I have created a new blog to stuff them all onto. Feel free to pop along and have a browse (warning: there isn't much there yet.....)
http://birminghambreastfeedingsupport.blogspot.co.uk
Monday, 16 July 2012
Saturday, 7 July 2012
Hooded Swimming Towel Tutorial
My first ever craft tutorial - how exciting!
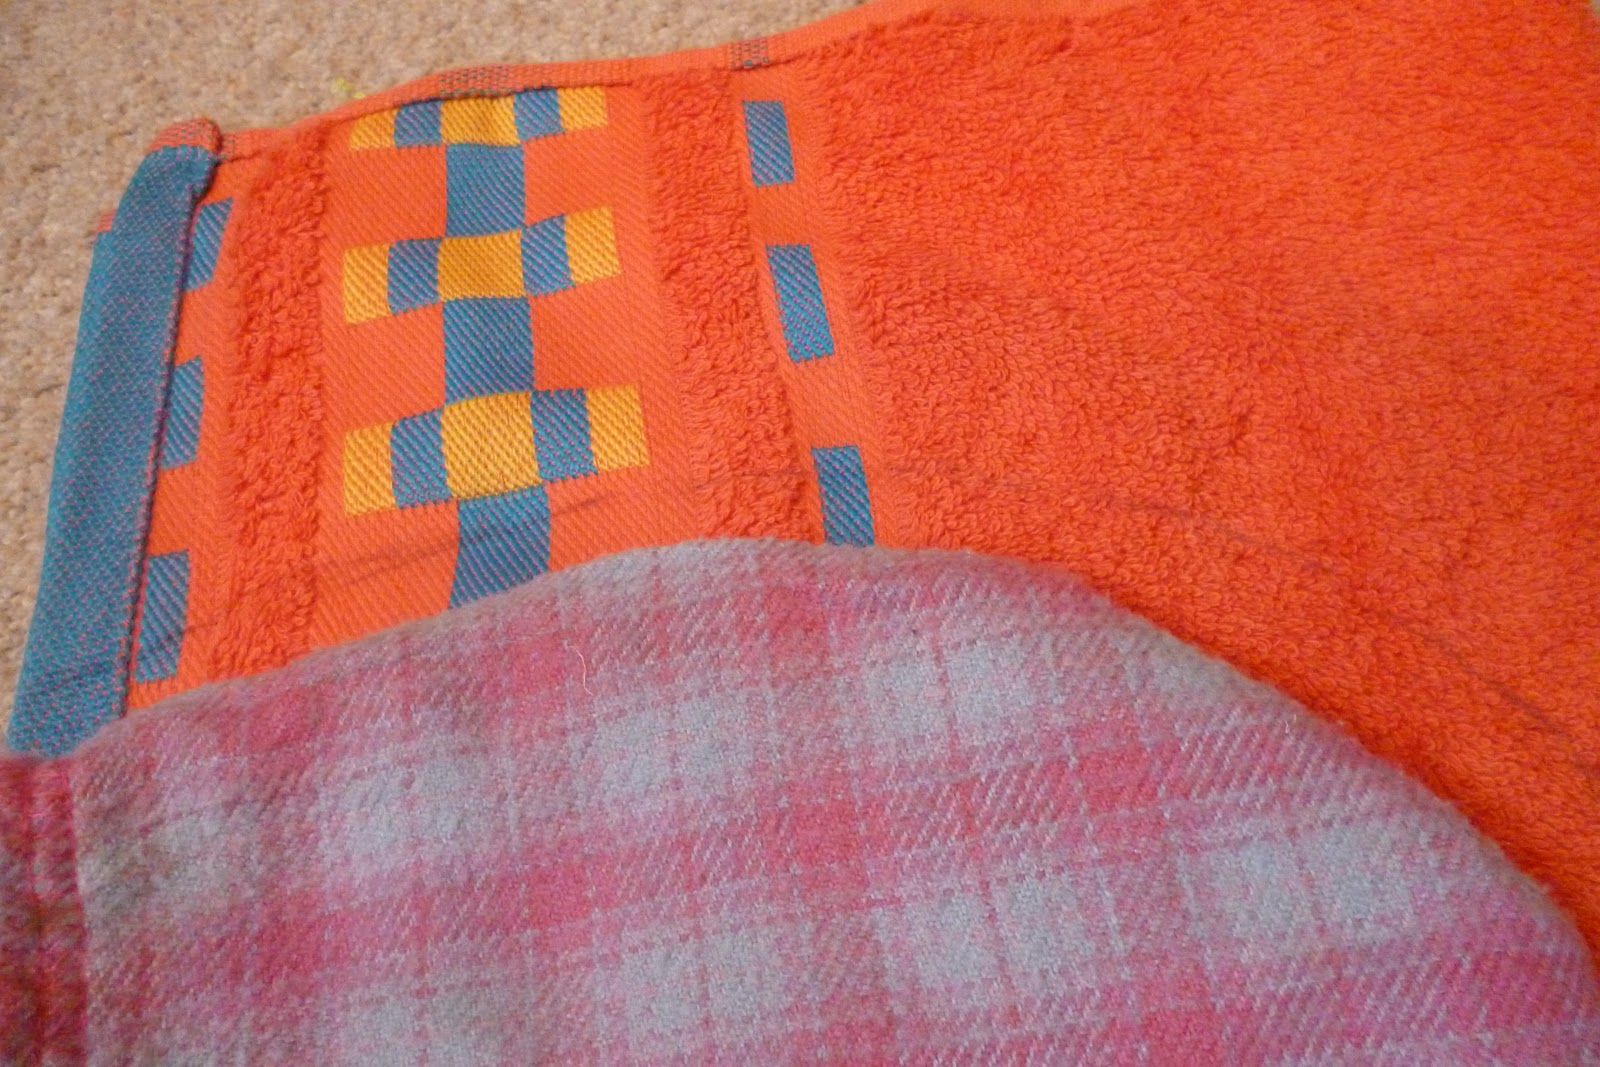
One positive to come out of this disgusting summer weather, is that beach towels are on special offer everywhere - so to make the most, I have spent the grand sum of around a tenner on 2 large beach towels and 2 small hand towels. A quick trawl of other tutorials and I was ready to cobble together a few different methods to come up with this (very basic) bit of sewing.


Basically, don't do what I did, which was cut the neck hole before you make the hood, because it could be ok - see Josephs......


One positive to come out of this disgusting summer weather, is that beach towels are on special offer everywhere - so to make the most, I have spent the grand sum of around a tenner on 2 large beach towels and 2 small hand towels. A quick trawl of other tutorials and I was ready to cobble together a few different methods to come up with this (very basic) bit of sewing.

1) find a hood that seems to fit your child about right. Fold the small hand towel in half. I wanted to have the edged parts at the front of the hood, because I thought it would look nice, and because it would save me hemming the front parts.
 |
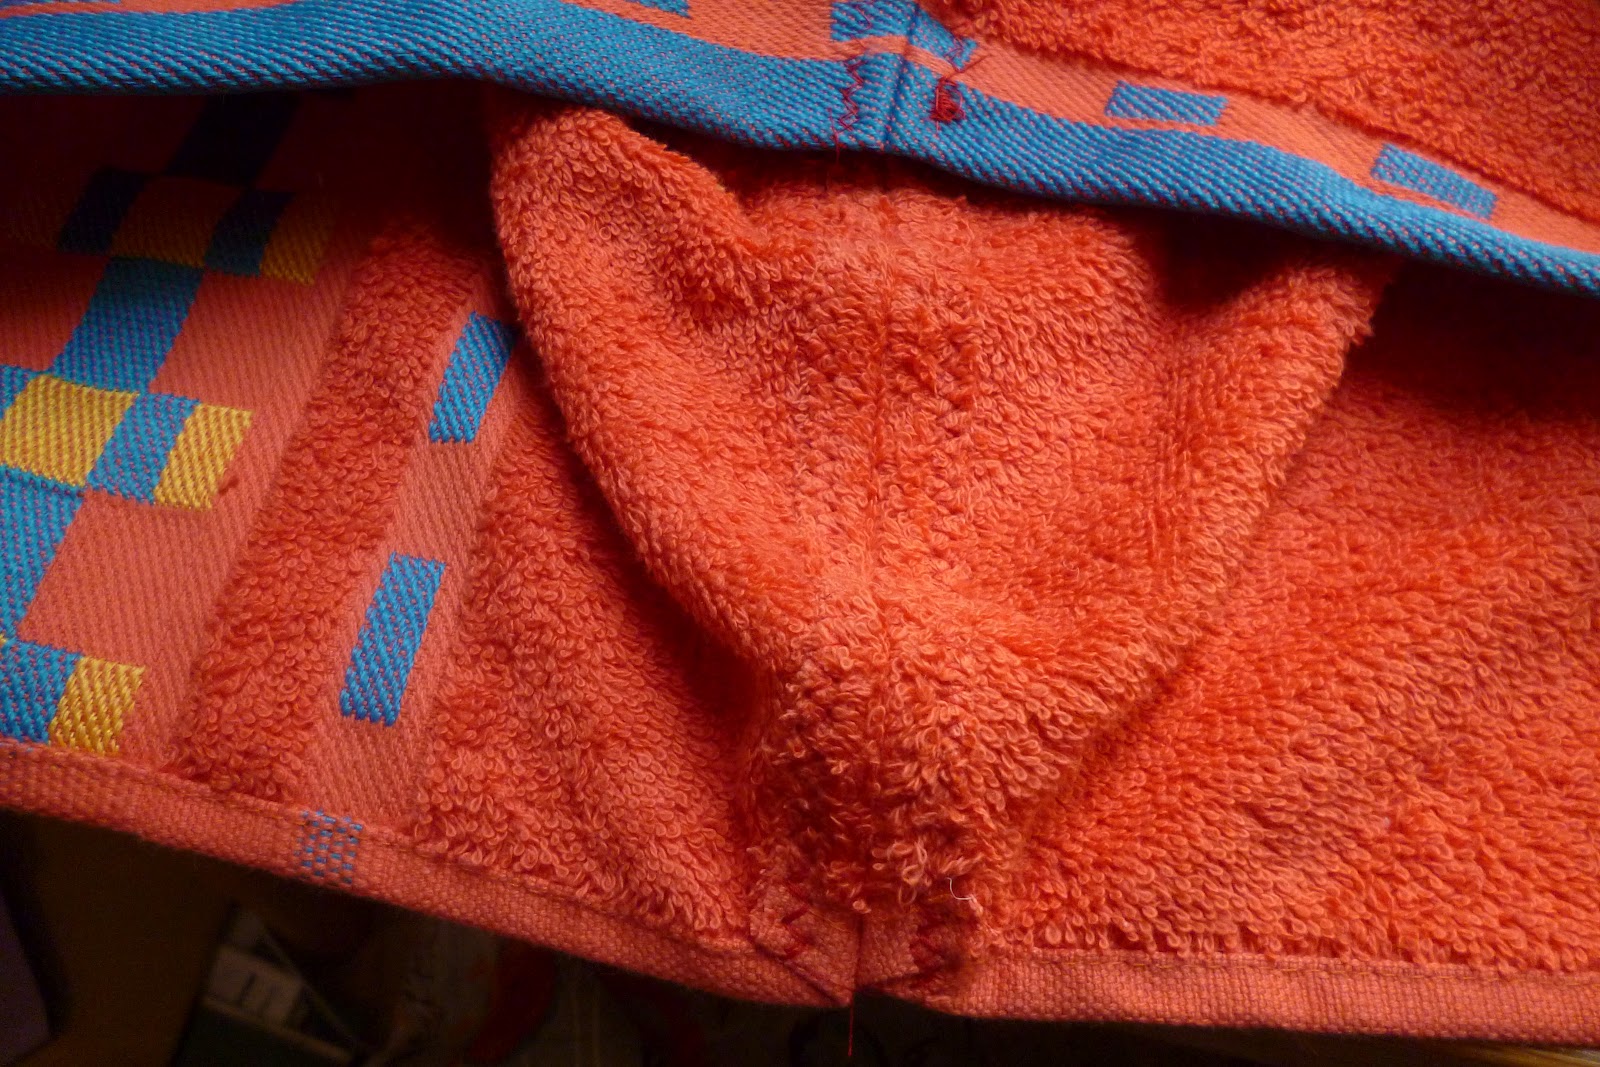
2) Draw around the hood, then cut it out leaving a reasonable seam allowance - around 2 cm
3) Sew up the seam

4) zig zag stitch the raw edges of the hem down to neaten and prevent towel bits shedding
Check the hood fits your child ;) .....

5) Fold your big towel in half down the long side so it is half as long, then fold in half again the other way for you to make the neckline. Make the neckline just a smidge wider than the width of the finished hood folded down the seam (does that make sense?)
 |
| Add caption |

........or it could be significantly too wide, requiring a bit of a bodge when it comes to sewing up

6) Start by pinning the middle seam of the hood to the centre of the head hole at the back - find it again by folding in half

7) Work your way round, pinning until you reach the front - leave a gap of around 5 cm between the two edges of the hood at the front

8) Take your scissors and snip about 5 -10 cm down the centre at the front - you don't need it too far down as the opening should be generous enough to get over damp heads anyway, it just seemed to finish it nicely. You can cut a wedge shape out, or just go straight down and remove some of the material at the upper part - you'll neaten these later

9) Sew up the hood into the neck opening. Useful tip - where the corner of the towel has about a million layers of fabric at the bottom of the front edges of the hood, don't bother trying to stitch through it - just snip it off. Job done.

10) zig zag stitch the seam down into the body of the towel to neaten the edges and as you go round, make sure you zig zag stitch the v-neck opening too.

And there you have it ...................TA DAH!!!!!


And here's one that Emmy took of me working on the towels in my craft space in the loft. Unbelievably this is the tidy version of the loft.......

Monday, 4 June 2012

Sunday, 18 March 2012
A new DEN!
The kids needed more to play with outside - there is only so many times they can re-dig the hole where the washing whirly-gig used to be. With their love of hiding and running in and out of little houses we thought of a den - with living willow being both the cheapest and easiest way to construct it.
When we bought a 3 m dome kit though we weren't quite prepared for 10ft long bits of willow.......
Digging the hole -


Emeline's vision of what the den will look like -

The first few sticks went it - we went in to regroup and work out the next step over a coffee and a biscuit at this stage. The instructions were, well, sketchy to say the least.

A quick google and off we went! The finished result:


In the context of the whole garden, it doesn't look so enormous - see? Its down the end on the right, in front of the orchard.

OK, so it slants a bit when you look at it from the doorway, but when you look at it from the house its spot on. The gaps are far from even, but I can still tinker with those a bit and tie it in a bit better as it grows. The windows were, I say modestly, nothing short of a triumph. I'm looking for some play bark to fill the inside with.
The main downside, if I'm being totally honest, would be that I got a 6' 2 man to construct the roof (yes, it was Jonathan, not some passing giant). So as a consequence the den for children now has a roof height more suitable for a convention of tall people. Still it will be nice to sit in when the kids aren't using it, I might put a little bench in there, and at least we won't have to stoop uncomfortably to join in the games.
Subscribe to:
Comments (Atom)